
|
|
|
||
|
|
|
||

Panelboard can have more than one section during configuration. The configurator provides option to add additional sections when required.
- Configure the panelboard first section. Make all selections including modifications.
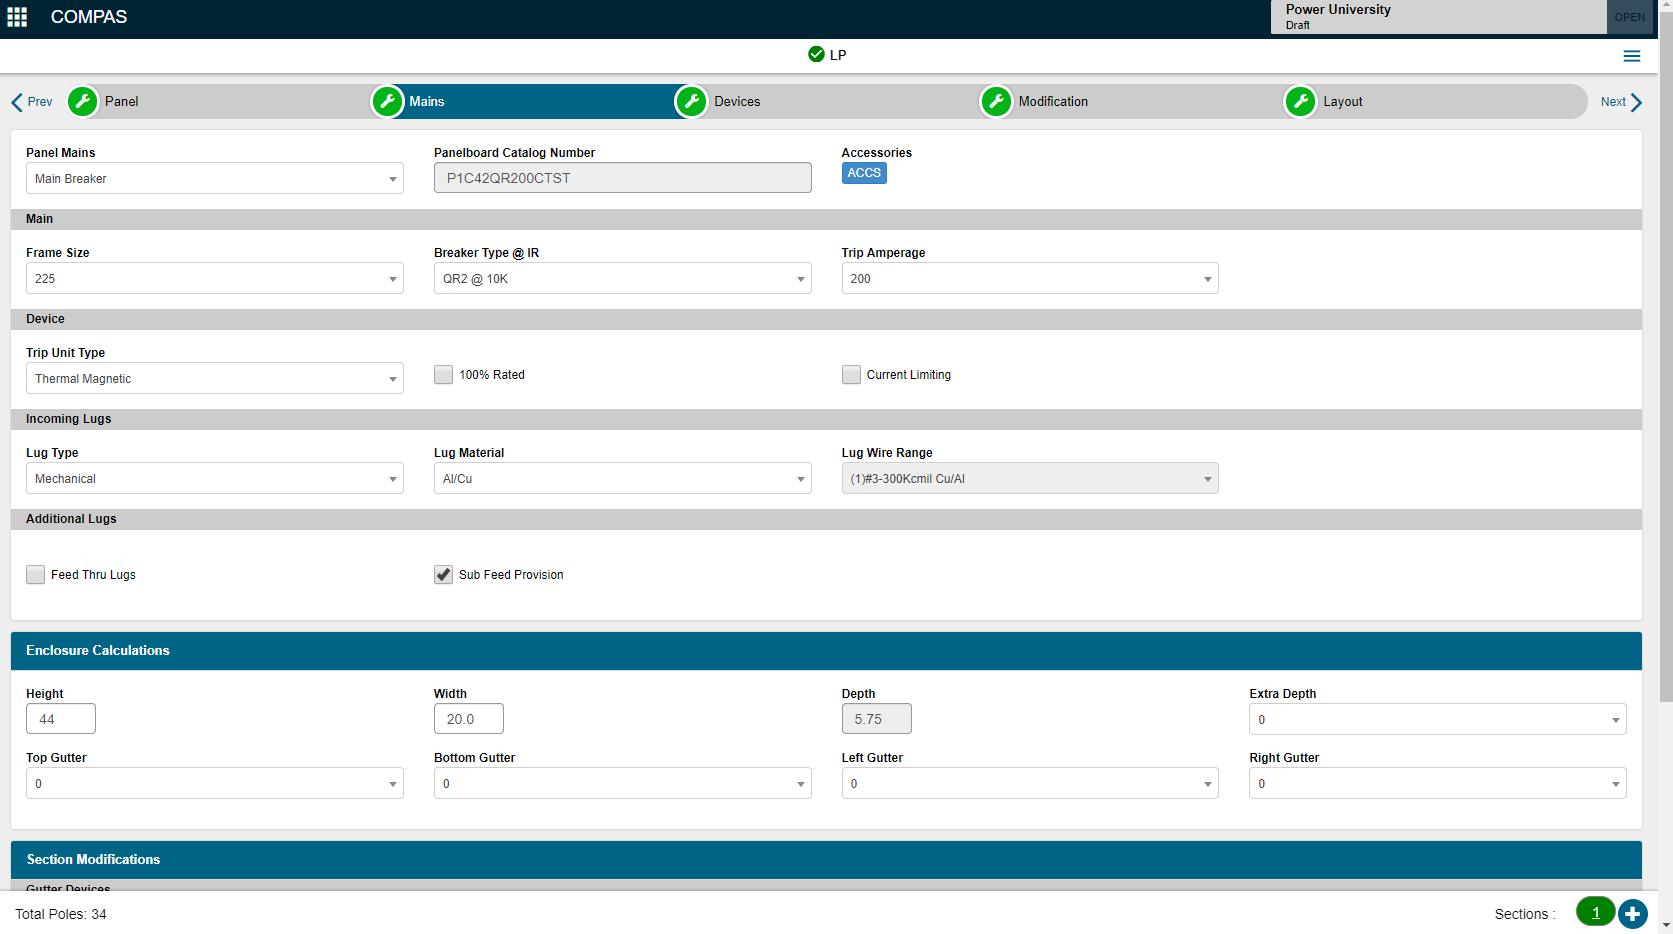
2. Go to the lower right corner and click on the circle with the "+" icon.
![]()
3. This adds the next section. Note: If you need to delete the second section, click on the red delete icon.

4. Configure the second section with required branch breakers.
.png)
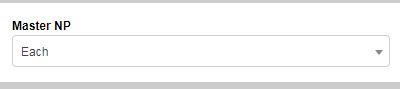
5. The configuration went from a single section to multiple sections. Check the Nameplate selection. You can start your selection with Single but you will need to change the
selection to Each for a multiple section panelboard.
Start with Each when configuring a multi section panelboard.
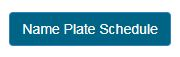
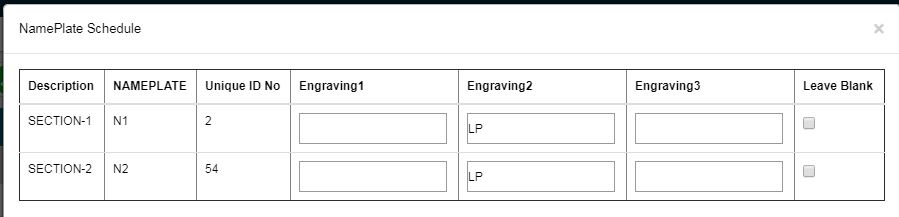
6. Select Name Plate Schedule button to view default section nameplate and edit if required. Checking on Leave Blank will provide a blank nameplate to be engraved by others.
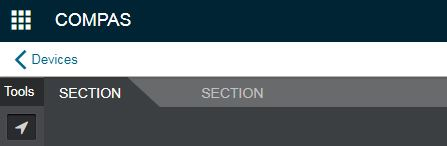
7. Users can view the branch breakers in the layout view. Note, the sections are in tabs in the Manual Layout view.
8. Click on the "Save and Close" from the action menu.
![]()
9. Panelboard will be saved as line item and gets highlighted. Click on the wrench to reconfigure if required.
.png)
