
|
|
|
|
|
|
|
|
.png)
This section of the article provides information on the steps to begin the engineering process of editing the BOM after having created the ICR (Internal Change Request) in COMPAS Go.
1. After importing the BOM, follow the steps for editing the BOM.
2. The Mechanical Drawing displays. Click on Section 1
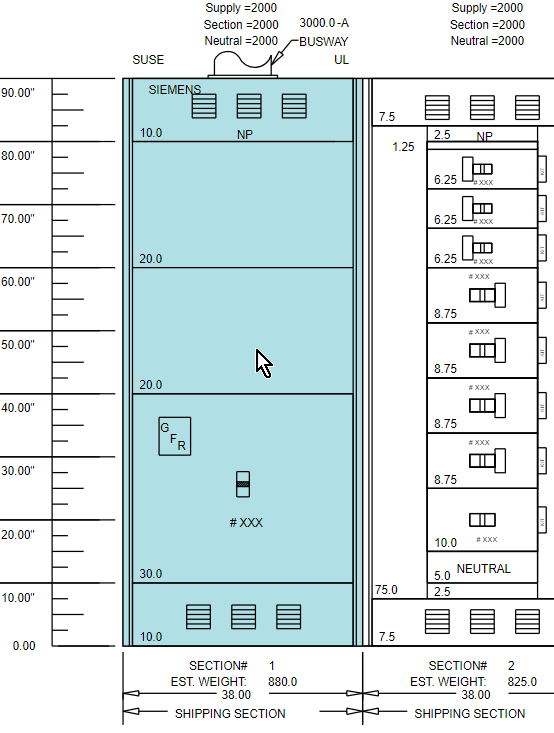
Note: On the right side of the screen the sections, code charts and section bus amperage are displayed.
3. Double-click on Sect. 1-Main

Note: The bill of material (BOM) is displayed on the left side of the screen displaying Part #, Qty, Description, Assembly Name and Location.
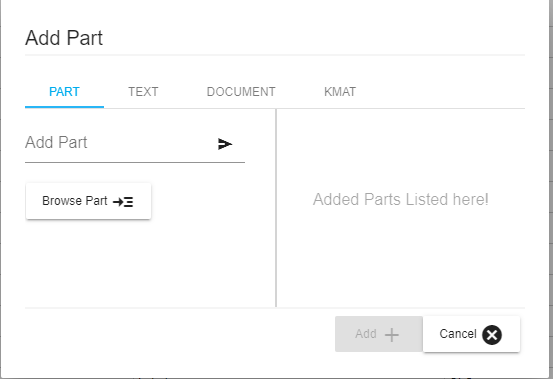
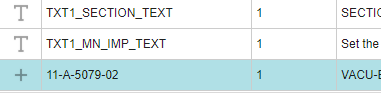
4. Click on ‘ + ‘ (Add Part) on the far left of the screen to add a part number to the BOM.

Note: An ‘Add Part’ pop up window appears. A ‘PART’ number, ‘TEXT’, ‘DOCUMENT’ or ‘KMAT’ can be added in this window.
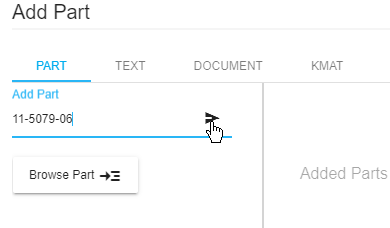
a. The part number can be added on the ‘Add Part’ line and click on the send icon.
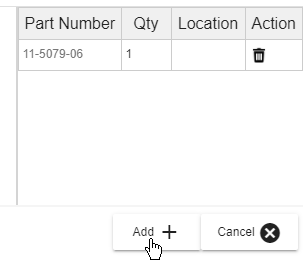
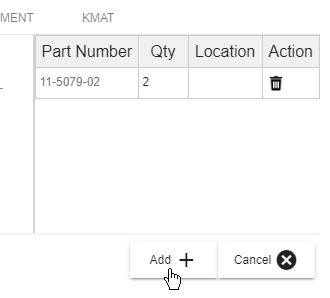
b. Adjusting the quantity can be done after adding the part by double-clicking in the ‘Qty’ field.

c. Click on the ‘Add + ‘ button to add it to the BOM. It will appear at the bottom of the material list.
d. Browsing for the part number can also be performed if the part number needed is not known by selecting ‘Browse Part’.

e. The window will change to a list of part numbers along with descriptions. There is a ‘Search’ that will shorten the search process.

f. A partial part number or partial description can be entered to be searched.


g. Depress the ‘enter’ key
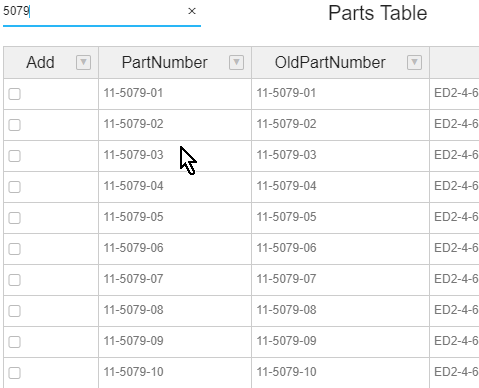

h. Select the part needed and select ‘Add + ‘

i. After selecting Add + ‘. As shown previously, quantity can be adjusted by double-clicking in the ‘Qty’ field.

j. Click on the ‘Add + ‘ button to add it to the BOM. It will appear at the bottom of the material list.
5. To replace a part number, click on the ‘Find/Replace‘ icon.

Note: A ‘Find/Replace’ pop up window appears.
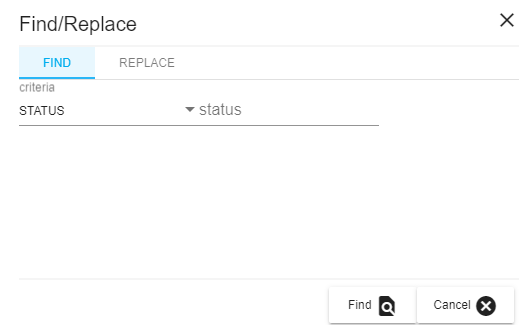
Click on the status drop down list to select search criteria. The examples below are using ‘PARTNUMBER’.

A partial part number or partial description can be entered to be used to ‘Find’

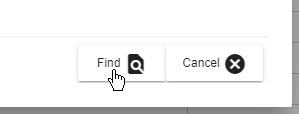
Select ‘Find’
Select the line to be replaced.
To replace this part select the ‘Find/Replace‘ icon.

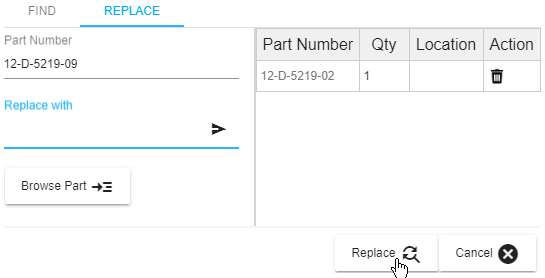
Select ‘Replace’ and enter the part number to be replaced, the part number to be replaced with and select the send icon as shown in the example:

The new part number appears on the right of the pop out window. Make sure to check and adjust quantity needed as it defaults to 1. Then select ‘Replace’.
Note: This is how the audit trail for the replacement will appear.

6. Materials can be exported using csv document using the double arrows (Export) as shown.


![]()
