
|
|
|
|
|
|
|
|
.png)
This section of the article provides information on the steps to begin the engineering process of importing the BOM after having created the ICR (Internal Change Request) in COMPAS Go.
1. After launching the OE tool, follow the steps for importing electrical BOM.
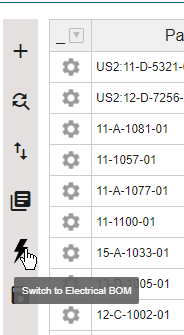
2. Switch to the Electrical BOM by selecting the lightning bolt icon.
Note: You will see a blank screen with a message in the middle ‘EBase BOM not available!’. The Electrical BOM must be imported.

a. The Electrical BOM can be imported by clicking on ‘Click to open the menu bar’.
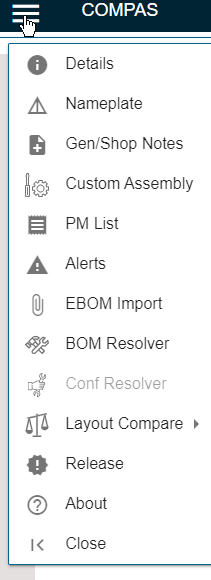
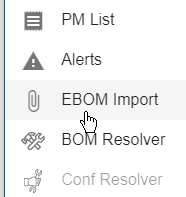
b. Select ‘EBOM Import’ from the pop-out window
c. Your File Explorer window will appear. Go to the saved location of the EBase text file to be imported. Select the EBase file of the section to be imported to COMPAS OE.
.png)
A message box ‘EBase file imported successfully’ will momentarily display at the bottom of the screen.
![]()
d. Double-click on Section that import was completed for

e. Switch to the Electrical BOM by selecting the lightning bolt icon.

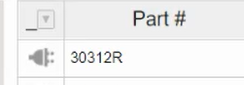
Note that the Electrical parts loaded from EBase are now displayed

Note that ‘Assembly Name’ denotes that the part is an ‘EBASE PART’ and the ‘Plug’ icon designates that it is an electrical part.
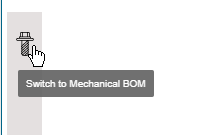
f. Select the ‘Nut’ icon to switch back to the Mechanical BOM.
![]()
