|
|
|
This article describes step to step information on how to use SIScan in COMPAS Go.
1. After successful creation of project, select the "Add Product" from the action menu and then select the SIScan.
.png)
.png)
2. On doing so, user navigates to the following page.
.png)
3. User can perform the following actions.
|
Action |
Description |
|
|
|
Browse and select a PDF for scanning |
|
|
|
Drag and drop a PDF file for scanning |
|
|
|
Configure Loadcenter, manually |
After selecting the documents
|
|
Indicates the PDF that is added for scanning |
|
|
|
Selection of pages for scanning You can specify the page numbers as follows, once the page numbers are specified, click Process. SiScan will only process only the pages specified.
|
|
|
|
Click to initiate the SIScan process |
|
|
|
Used to cancel the SIScan process |
4. After opening the SIScan, select the PDF or drag and drop the PDF.
.png)
5. Click on the process button.Notification is provided to the user and SIScan of document take place.
.png)
6. After SIScan is done, following is visible for the user.
.png)
7. To set the values globally, click on the "![]() " button. On doing so, the following page is available for the user to set the values which will be reflected in all the configurations.
" button. On doing so, the following page is available for the user to set the values which will be reflected in all the configurations.
.png)
![]() - used to rest all the global setting values
- used to rest all the global setting values
![]() - used to close the global setting screen.
- used to close the global setting screen.
8. User need to click on the "Review & Configure" button. If the scanned document need to be deleted, click the "![]() " button.
" button.
.png)
Actions that can be performed by the user.
|
|
Pagination for the scanned panelboards |
|
|
|
Indicates the count of panels scanned |
|
|
|
Lock the configuration for changes |
|
|
|
Filter for line items |
|
|
|
Acceptance before submission |
|
|
|
Used to convert panelboard to loadcenter |
|
|
|
Submit the panels as line items in quote |
|
|
|
Abort the SIScan. |
|
| Edit the scanned configuration | ||
| Deleted the scanned panel |
9. Click on the edit configuration, the following page is visible for the user to reconfigure the information.
.png)
Actions that can be performed by the user.
|
|
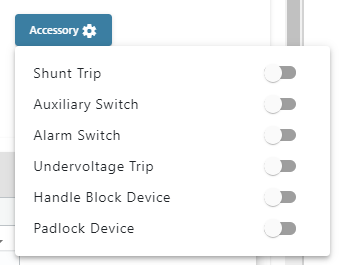
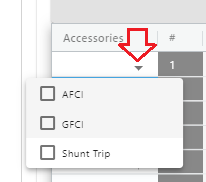
Selection of accessoried |
|
|
|
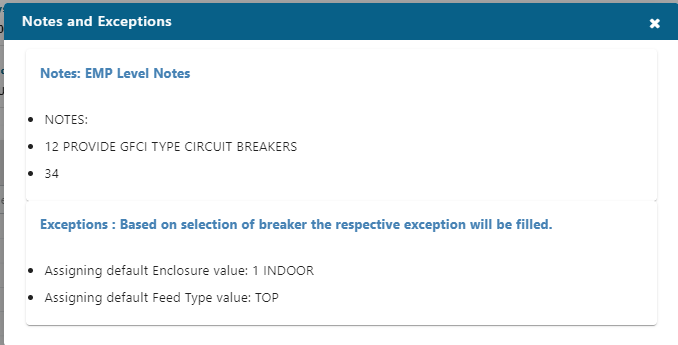
Notes and exception
|
|
|
|
Scanned image from the PDF |
|
|
|
Lock for changes |
|
|
|
Save the changes done for submission |
|
|
|
Finish to save the edited changes. |
|
|
|
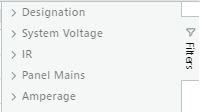
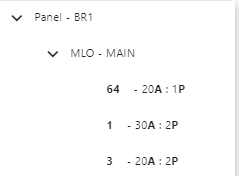
Tree structure for the configuration |
|
|
|
Click to add accessories. |
10. To convert a panel to Loadcenter, select the required line item and click on the highlighted button.
.png)
With confirmation as shown below, the panel is updated to the "Loadcenter" Tab
.png)
.png)
Options are available to concert the Loadcenter into panel also.
11. Click on the "Submit" button to have the panels added to quote.
.png)
12. Processed status can be seen as shown below.
.png)
.png)


