|
|
|
This article help user to configure Busway/Busplug in COMPAS Go.
1. Login into COMPAS Go using valid credentials.
2. Create a new quote or open an existing quote with editing "ON".
3. Use the "Add Product" option from the action menu.
4. On doing so, select the following to launch the Busway/Busplug configurator as shown below.
.png)
4. On clicking the following information is available to the user.
.png)
5. We have the option to select either "Busway" or "Busplug". Click on the respective icons for more information on the configuration.
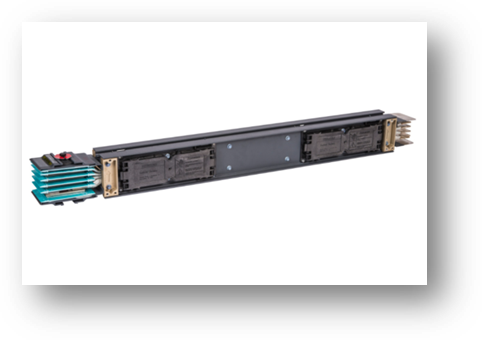
Busway |
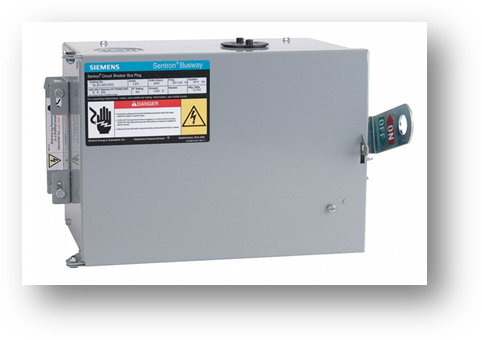
Busplug |
.png) Busway Configuration
Busway Configuration
1. On selecting the Busway in the Product Selection, the following is available for the user to configure.
.png)
2. Busway Type can have either "Sentron Busway" which is default or "XLU Busway" as shown below.
.png)
Also, the configuration type can be either "Quick Quote" or "Detailed Quote"
3. Complete the mandatory values which is provided in "Blue" color as shown below.
.png)
4. Click on the configure button on the top and the following page is available for the user to add components.
.png)
.png)
Click on the add button and the following is available to the user to configure.
.png)
5. On completing the configuration for the components, the icon changes to "![]() " as shown below.
" as shown below.
.png)
6. Now the configuration completion is shown as "![]() ". Also, the action menu has the following options.
". Also, the action menu has the following options.
.png)
7. Now clicking on the save and close option will add the Busway with "Quick Quote" as line item and child line will get appended with _Q
Note: Quick quote configuration has viewable option in quote, order ECR and IICR stages.
.png)
Following is for detailed configuration.
.png)
.png) Busplug Configuration
Busplug Configuration
1. On selecting the Busplug, the following is available to the user.
.png)
2.Click on the "Create Busplug" button and the following navigation happens.
.png)
Select the required Busplug type as shown below.
.png)
3.On completing the configuration, the following is available to the user. ![]() which indicates the configuration is complete.
which indicates the configuration is complete.
.png)
4. Now save and close the configuration to add it as line item in the quote.
.png)
.png)

